Printable Renovation Checklist: Every Task by Room
A renovation isn't one big job; it's a few hundred small ones, and the ones that get forgotten are always the cheap, boring tasks that turn expensive later. This printable checklist lists every task, grouped by room and by phase, so you can tick your way through a renovation without anything slipping through the cracks.
A renovation looks like one decision — “we’re doing the kitchen” — but it’s really a few hundred small tasks stacked on top of each other. The big ones (knock down the wall, fit the kitchen) take care of themselves because they’re impossible to forget. It’s the small, boring, cheap tasks that get missed: ordering the made-to-measure window six weeks before you need it, photographing the pipe runs before the plasterboard goes on, confirming the permit is approved before the trades turn up. Each one is trivial on its own. Each one, forgotten, costs days or money.
A checklist is the cheapest insurance you can buy against that. Below is a complete, printable renovation checklist — organised the way the work actually happens — that you can copy, print, or rebuild in any app. Print it for the wall, or keep the same list on your phone so it’s with you when it matters.

How to use this checklist
Two rules make the difference between a checklist that helps and one that becomes wallpaper:
- Work it in phase order, not room order. The instinct is to finish the bathroom completely, then start the kitchen. That’s almost always wrong. Electricians and plumbers want to do their first-fix work across every room in one visit, before any walls are closed up. So the checklist is grouped by phase first — the room-specific lists slot into the right phase.
- Tick the cheap early tasks first. The pre-start section below is full of two-minute jobs that have weeks-long consequences if skipped. Do them on day one.
There’s a fuller explanation of the sequence in our guide to the seven phases of a home renovation — this checklist is the task-level version of that arc.
Phase 0 — Before any work starts
Tick every one of these before a tradesperson sets foot in the house. They’re cheap now and expensive later.
- Write down the full scope, room by room — what’s changing and what isn’t
- Set an itemised budget with a contingency line (see the free budget template)
- Get three written, itemised quotes per major trade
- Sign a written contract with payment schedule and scope
- Confirm which works need permits or building control sign-off
- Submit and confirm approval of every required permit
- Order all long-lead items now (windows, bespoke cabinetry, certain tiles, appliances)
- Take “before” photos of every room from multiple angles
- Arrange a skip/dumpster and waste disposal
- Set up site protection (floor coverings, dust sheeting, a dust barrier)
- Notify neighbours and check any party-wall obligations
- Plan where you’ll cook, wash, and sleep if rooms go offline
The two most-skipped items here are ordering long-lead items early and confirming permits are actually approved (not just submitted). Both can stop a project dead for weeks while every other task waits.
Phase 1 — Strip-out and structure
This is the loud, dusty start. The tasks here are broadly the same in every room.
- Disconnect services to the work area (water, power circuits, gas)
- Remove fittings, fixtures, and anything being kept or reused (label and store it)
- Demolish to the extent of the scope — walls, floors, old kitchens/bathrooms
- Carry out structural work (beams, lintels, openings) per engineer’s spec
- Address anything uncovered: rot, damp, dodgy wiring, asbestos (stop and get the right people for the last one)
- Make the structure weathertight — roof, windows, external doors
- Photograph everything now exposed — you won’t see inside these walls again
The “address what you uncover” line is where contingency budget gets spent. It’s normal. The mistake is treating a surprise as a disaster instead of a line item — log it, cost it, decide where the money comes from, and move on.
Phase 2 — First fix (services across all rooms)
First fix is everything that goes inside the walls and floors before they’re closed up. Do it across the whole project in one pass.
- Electrical first fix — cabling, back boxes, consumer unit changes
- Plumbing first fix — hot/cold runs, waste pipes, drainage
- Heating — pipework, underfloor heating loops, radiator positions
- Ventilation and extraction ducting (kitchen, bathrooms)
- Data, TV, and any smart-home cabling (always forgotten — decide now)
- Insulation in walls, floors, and ceilings
- Soundproofing where wanted (party walls, bedrooms, media rooms)
- Photograph all pipe and cable runs against a tape measure before boarding
- First-fix inspection / sign-off if required
That photo step matters more than any other on this page. Once the plasterboard is up, the exact position of every pipe and cable is invisible — until the day you want to hang a heavy shelf, chase a leak, or prove to a buyer’s surveyor what’s behind the wall.
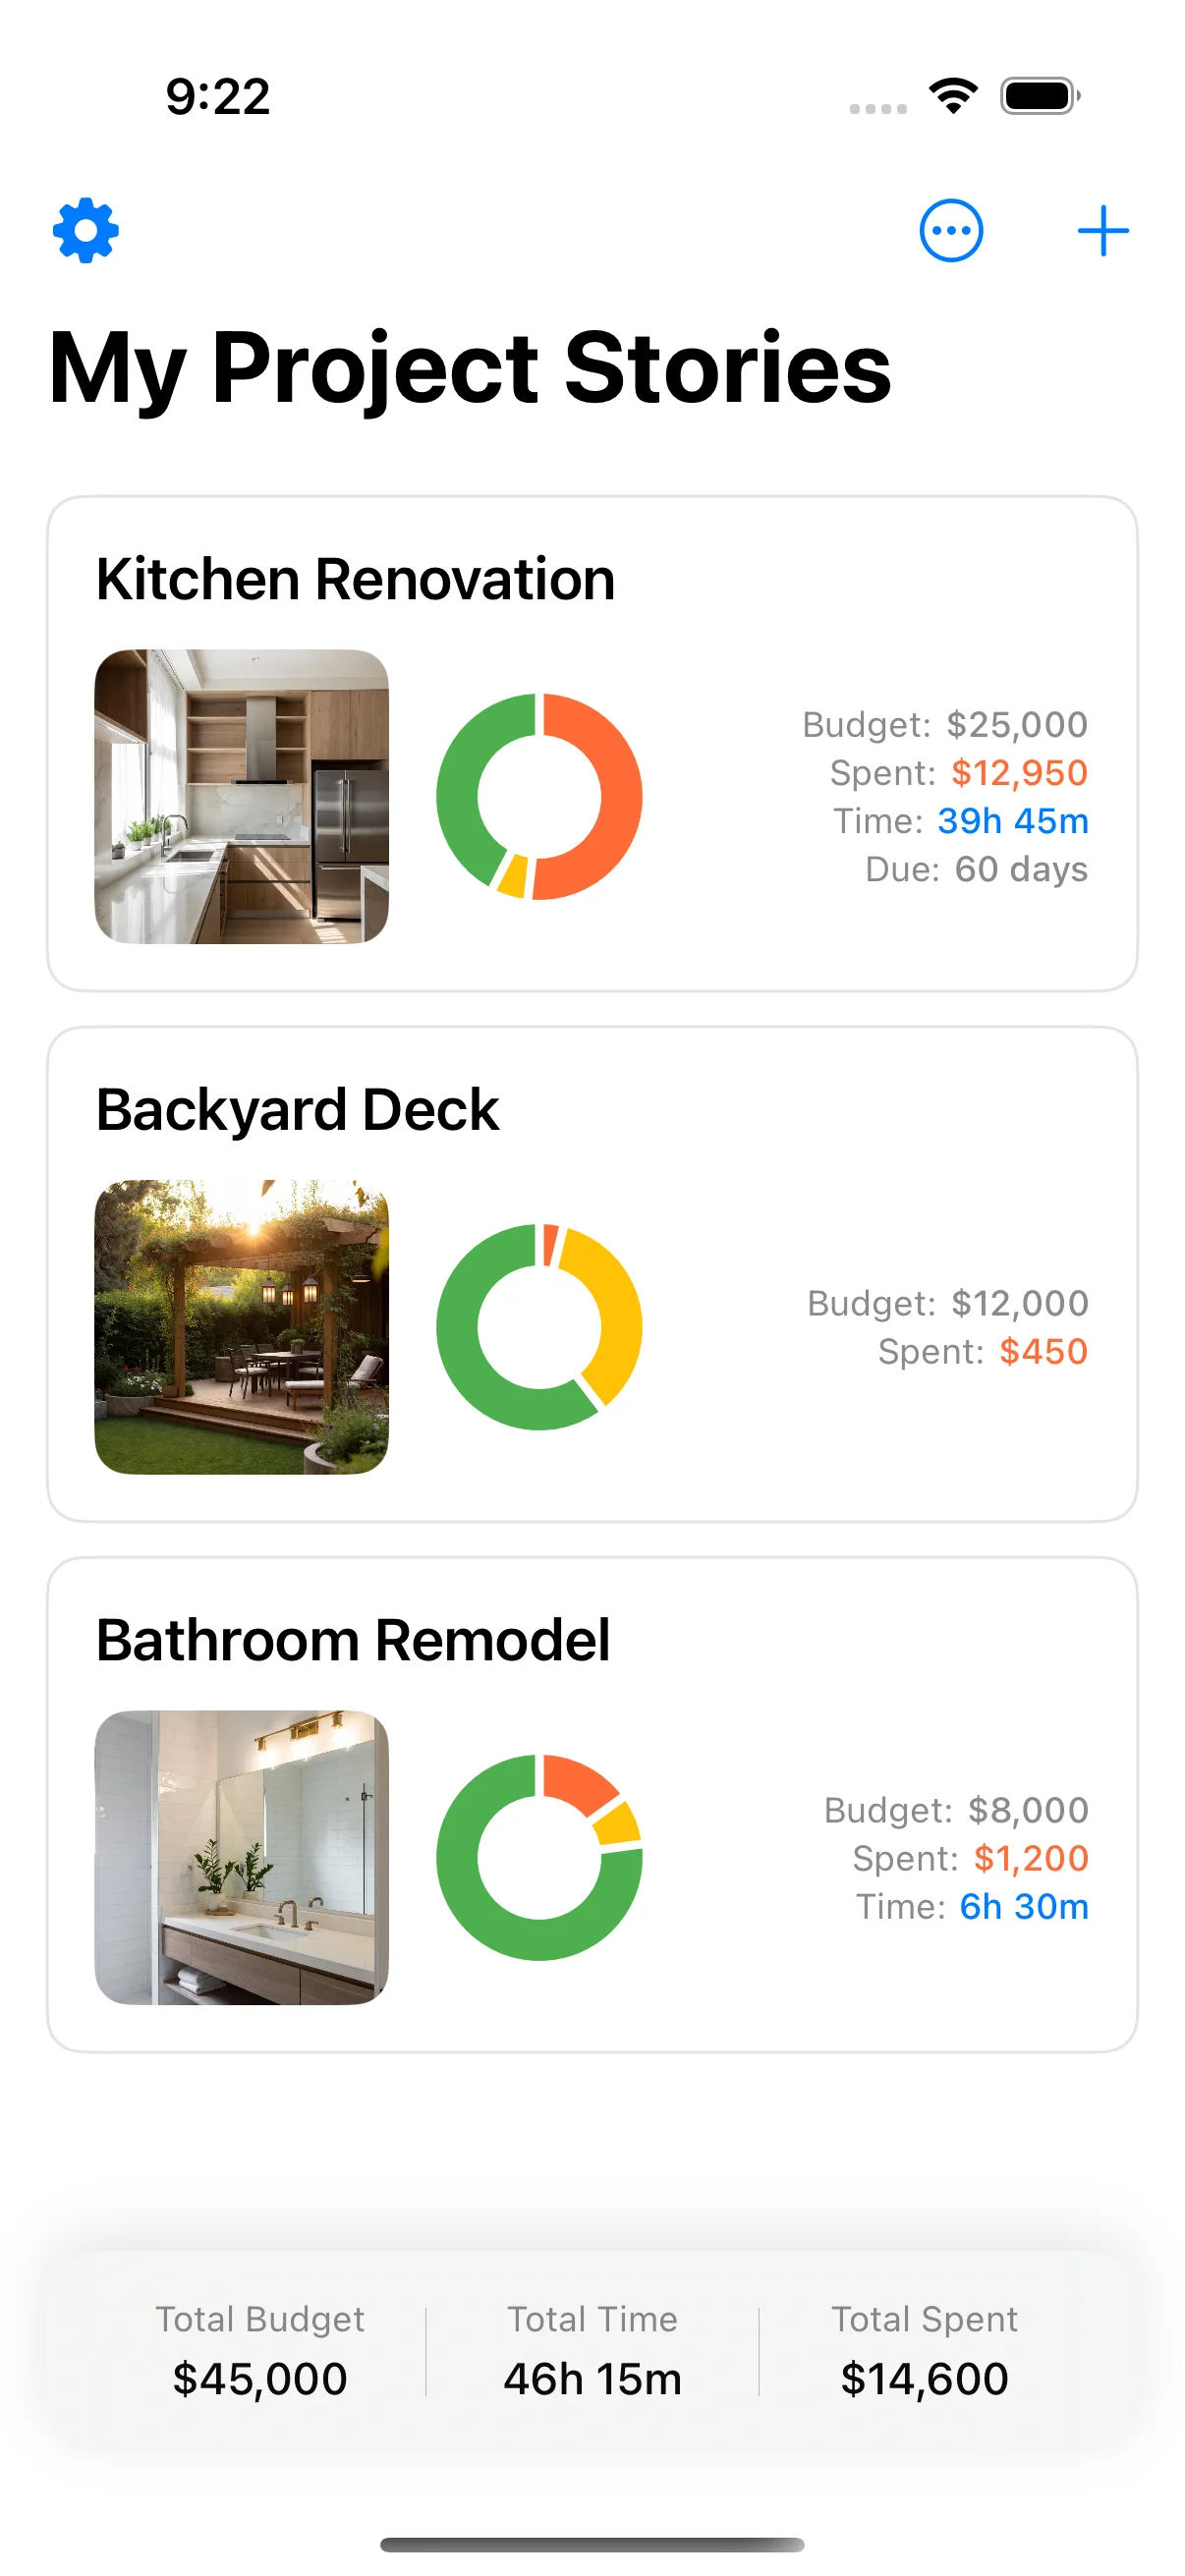
A renovation checklist is only useful if it’s with you when you’re doing this work — and a printout taped to the wall isn’t on the scaffold or at the merchant. This is exactly the gap Home Stories was built to close: the same checklist on your phone, where you can tick a task, snap the pipe-run photo against it, and log what you just paid — all in one tap, on-site. It’s free on the App Store.
Phase 3 — Plaster and surfaces
The bridge between rough work and finishes.
- Board out walls and ceilings (plasterboard / drywall)
- Plaster or skim to a finish
- Lay screed or level subfloors
- Allow proper drying time before finishes (rushing this cracks paint and lifts flooring)
- Fit and tank/waterproof wet areas before tiling
- First coat of mist/primer on fresh plaster
Phase 4 — Second fix and finishes (room by room)
Now the project finally looks like rooms. Work from the space furthest from the exit toward the door, so you’re never walking finished floors to reach unfinished ones. This is where the room-specific tasks live.
Every room
- Second-fix electrical — sockets, switches, light fittings
- Second-fix plumbing — taps, radiators, towel rails
- Hang and finish internal doors, architraves, and skirting
- Flooring
- Painting and decorating (ceilings, walls, woodwork — in that order)
- Final clean
Kitchen
- Fit cabinets and worktops (template the worktop after cabinets are set)
- Connect sink, taps, and any water filter
- Install and connect appliances (check clearances and ventilation)
- Tile or fit the splashback
- Test extraction and all appliances
- Seal all wet joints (sink, worktop-to-wall)
Bathroom
- Tile walls and floor (confirm waterproofing is signed off first)
- Fit sanitaryware — bath, shower, basin, WC
- Fit shower screen, taps, and accessories
- Install extraction fan and test it
- Seal every wet joint with the right sealant
- Test for leaks before sign-off
Bedrooms and living spaces
- Built-in wardrobes or storage
- Window treatments — measure after walls are finished
- Final paint touch-ups after furniture access
- Curtain poles, blinds, shelving brackets (use those first-fix photos)
Phase 5 — Snagging and handover
The phase everyone wants to skip, and the one that protects you. Don’t release the final payment until this is done.
- Walk every room and list every defect with a photo (the snag list)
- Agree fix dates for each snag with the contractor
- Re-inspect and mark each item fixed or outstanding
- Test everything: every socket, tap, light, appliance, and drain
- Collect warranties, guarantees, and certificates (electrical, gas, building control)
- Record paint colours, product codes, and supplier details
- File “as-built” notes and your first-fix photos somewhere permanent
- Release retained/final payment only against a cleared snag list
A renovation isn’t finished when the work stops — it’s finished when the snags are closed and the records are filed. The warranties and product codes you capture here are the ones you’ll be hunting for in two years; capture them while everyone’s still on site.
Print it, or carry it
You can print this whole list straight from the page and tape it to the wall — that’s genuinely useful for the at-a-glance, whole-project view, and crossing items off by hand is satisfying.
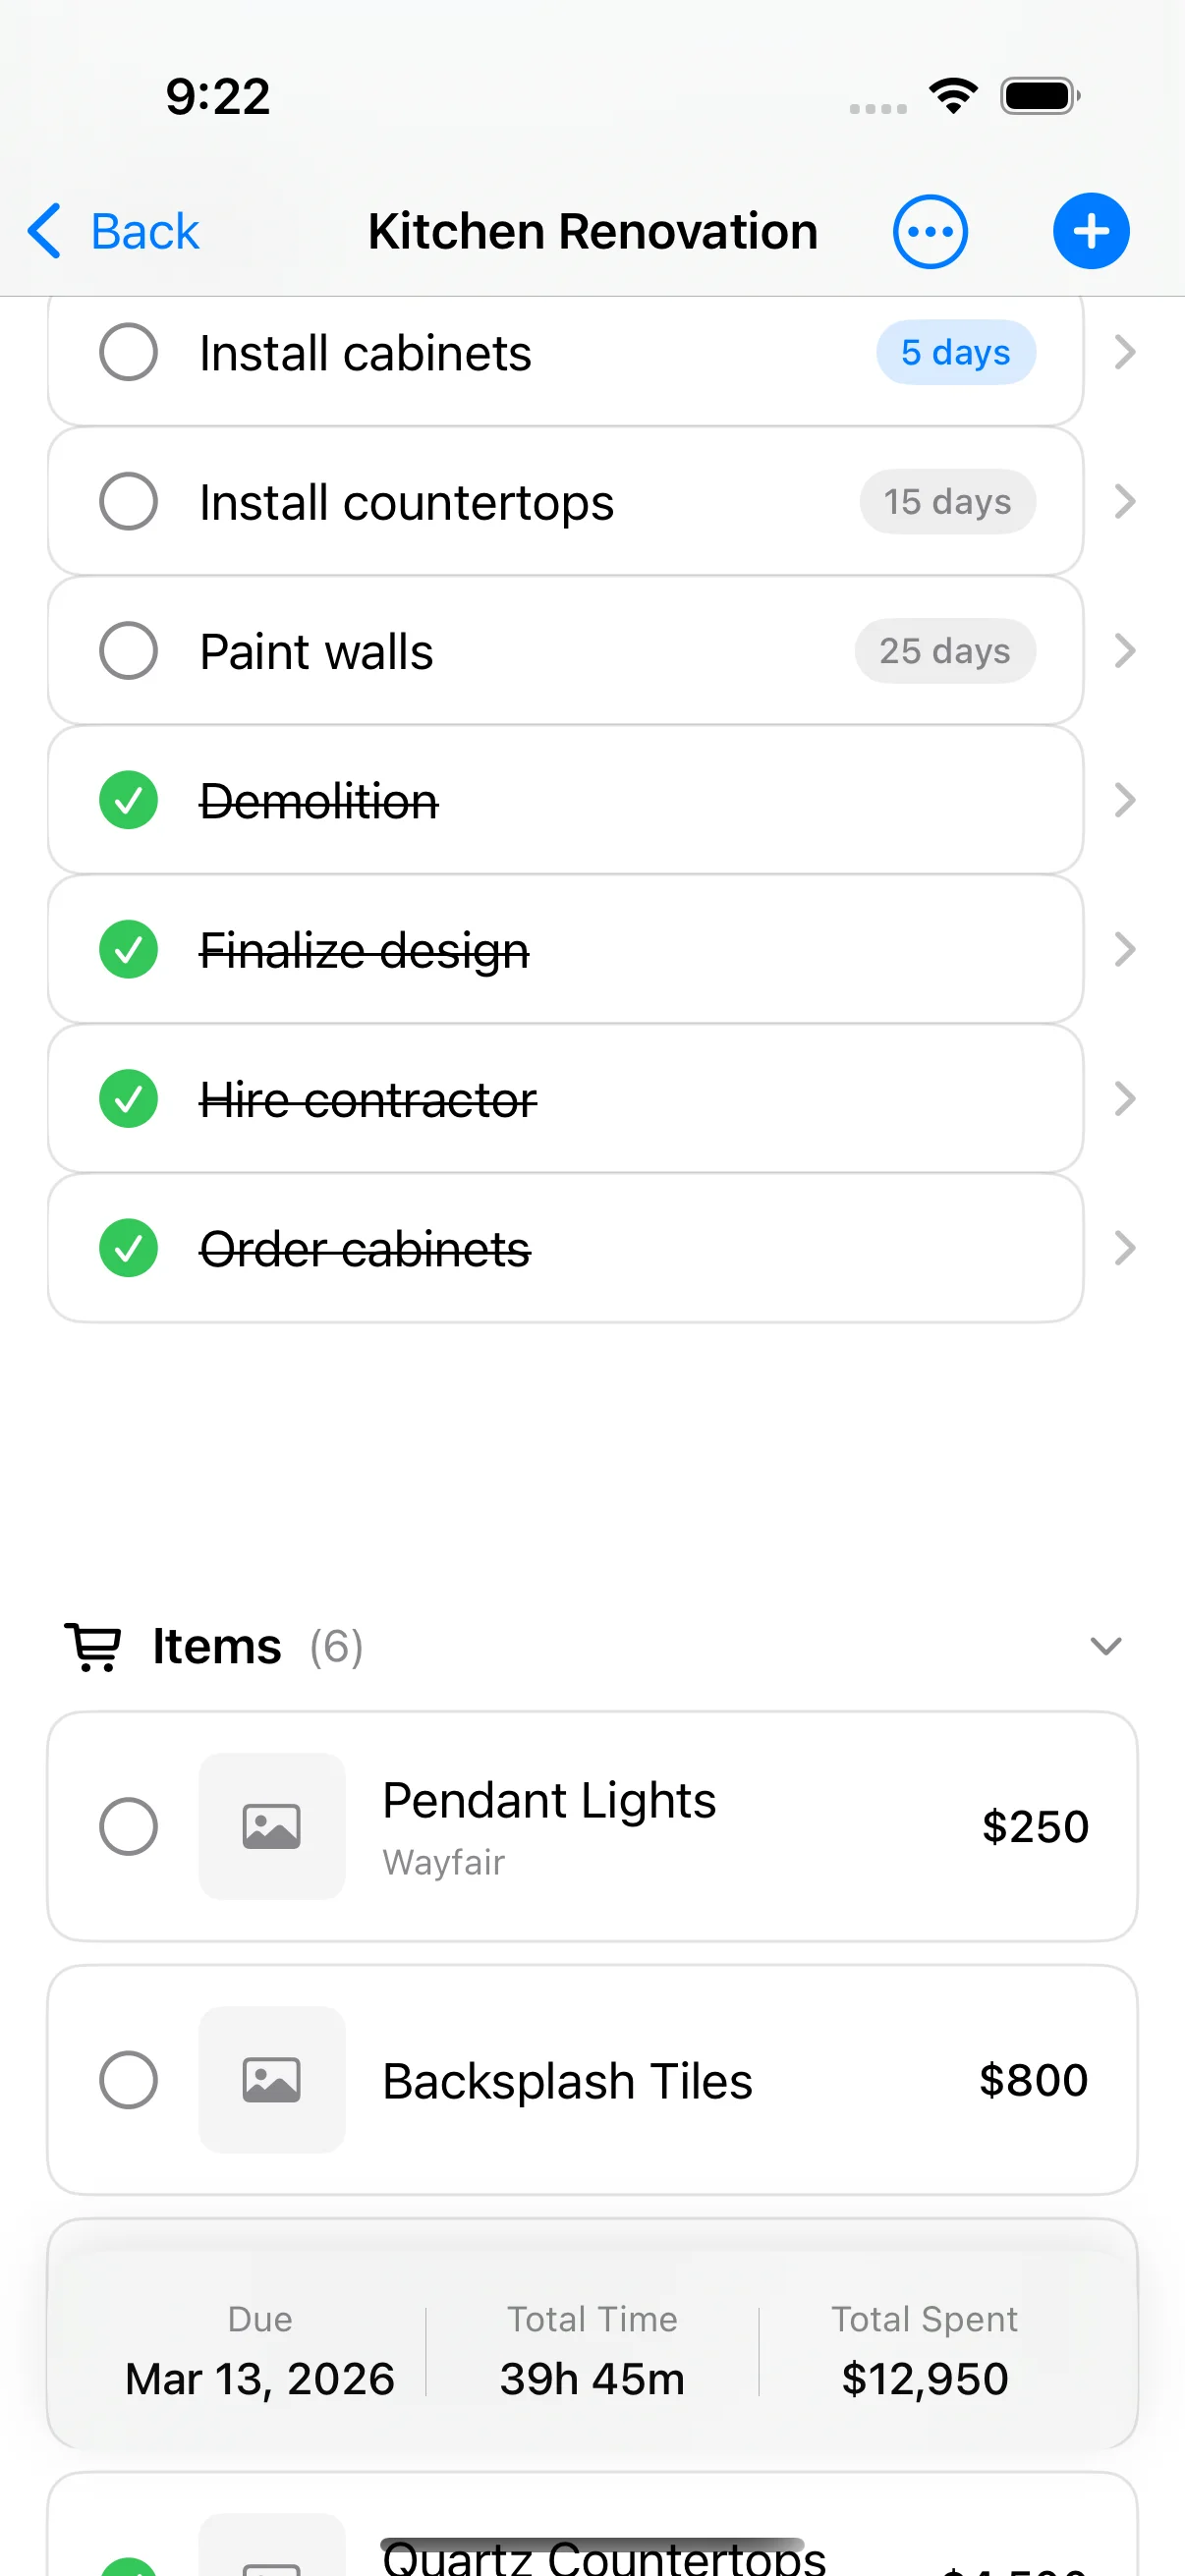
But a wall chart has one flaw: it isn’t with you at the builder’s merchant, on the scaffold, or standing in the half-stripped bathroom wondering whether the plumber’s first fix is signed off. That’s where the checklist needs to live. Home Stories keeps this same task list on your phone, alongside the budget and the photos, so each task carries its own receipt and its own pipe-run photo. Tick it, shoot it, log the cost — once, on the spot.
Print the master list for the wall, run the working copy on your phone, and the boring, cheap, easily-forgotten tasks — the ones that actually derail renovations — stop falling through the cracks. It’s free on the App Store, and it’s built to carry a project from the first strip-out to the final signed-off snag.
Frequently asked questions
What should be on a home renovation checklist?
A complete renovation checklist has three layers: a pre-start layer (scope, budget, quotes, permits, long-lead orders), a per-room task layer broken into strip-out, first-fix services, surfaces, and fit-out, and a handover layer (snagging, final payments, warranties, and documents). The most-missed items are not the big jobs — they're the small early tasks like ordering made-to-measure windows weeks ahead and photographing wiring and pipework before the walls close up.
Is there a free printable renovation checklist?
Yes — the full room-by-room checklist in this post is free to copy or print, and you can recreate it in any notes app or print it straight from the page. If you'd rather have it on your phone on-site, the same task structure is built into the free Home Stories app so you can tick items off, attach photos, and link each task to its cost in one place.
What order should I renovate a house in?
Work top-down and back-to-front in phases, not room by room. The sequence is: structural and weatherproofing first (roof, windows, any structural changes), then first-fix services (electrical and plumbing rough-in) across the whole project, then plastering, then second-fix and finishes (flooring, painting, fit-out) working from the rooms furthest from the exit toward the door. Doing one room start-to-finish before starting the next almost always means re-opening finished work later.
What is the most commonly forgotten task in a renovation?
Photographing services before they're covered. Once plasterboard goes up, the exact location of pipes, cables, and waterproofing is invisible — and you will want to know where they are when you hang a shelf, chase a leak, or sell the house. It costs nothing and takes seconds during the build, but is impossible to recover afterwards. Ordering long-lead items late is a close second.
Should I use a paper checklist or an app for my renovation?
Paper is great on the wall for the whole-project view and crossing things off feels good. But a renovation checklist needs to be with you at the merchant, on the scaffold, and in the dust — which is where paper gets lost and a phone doesn't. The practical answer is both: print the master list for the wall, and keep the working version on your phone where you can also attach the receipt and photo to each task as you complete it.
Keep reading
The 7 Phases of a Home Renovation (and What to Track)
The 7 phases of a home renovation, in order — and exactly what to track in each one so the project lands on time, on budget, and on plan.
How to Budget a Home Renovation Without Going Over (2026)
How to budget a home renovation without going over: a step-by-step 2026 method using real quotes, the right contingency, and tracking that survives the build.
Renovation Budget Template (Free PDF + Google Sheet)
A simple renovation budget template that actually works — line-item, contingency-aware, and proven on real projects. Free PDF and Google Sheet.