Bathroom Renovation Order: The Sequence That Saves Time and Money
There's a right order to renovate a bathroom and a wrong one. Get it wrong and you'll be tearing tiles off to fix a pipe. Get it right and the whole thing runs itself.
The person about to renovate their bathroom has probably been staring at that small, outdated space for months, imagining what it could be. They’ve scrolled through reference photos and then sat down to figure out what to do first.
That’s the hardest part. A bathroom renovation isn’t a list of tasks — it’s a sequence. Each step has to finish before the next one can start. Get the order wrong and the cost isn’t just annoyance. It’s tearing tiles off to fix a pipe. It’s a shower that leaks into the ceiling below.
The sequence is well-known: tear everything out, run the new infrastructure, seal it, put the surfaces on, install the fixtures, and wrap up. The hard part isn’t knowing the steps — it’s managing them and making sure nothing gets forgotten.
The phases, in order
Phase 1: Planning and ordering
Before you swing a hammer, order the long-lead items. The shower enclosure, custom mirrors, specialty tile, or a specific vanity — the things that take weeks to arrive need to be on order before demolition starts.
If you’ve specified a tile that takes twelve weeks to arrive, order it the day you sign the contract. Also confirm your permits are sorted if your local rules require them.
Phase 2: Demolition and disposal
You take a sledgehammer to the old vanity, pry up the old tile, and the bathroom ceases to exist. What people don’t anticipate is the logistics. Where does all the stuff go? Multiple trips to the tip? A skip in the driveway?
Phase 3: Rough-in plumbing, electrical, and structural work
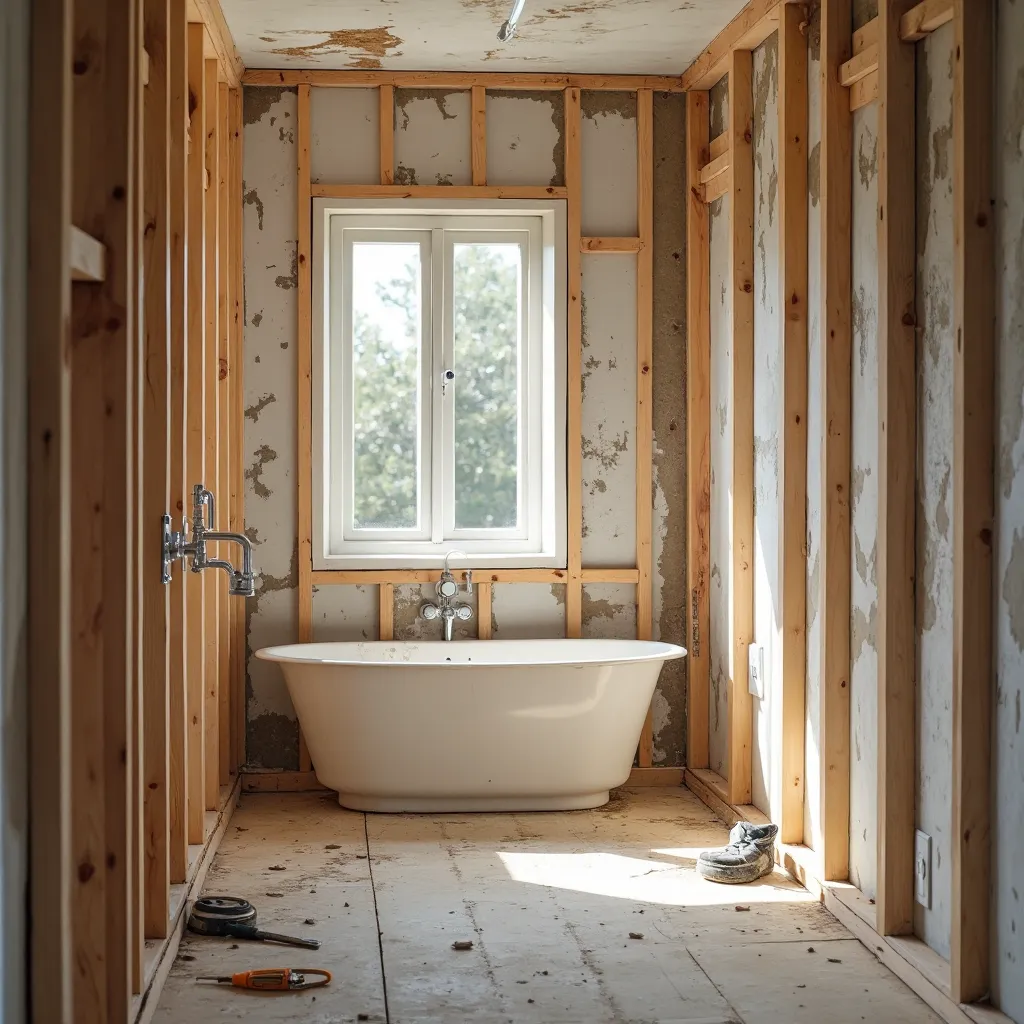
Once the walls are open, the trades begin. The plumber runs new lines. The electrician moves outlets and adds lights. If you’re moving walls, the carpenter does that work.
This is where you find out whether your bathroom has surprises — rot, inadequate framing, or something the previous owner did that would fail inspection. Open walls are honest.
The rough-in phase is also where you install the new shower pan or set up the shower drain. That happens before any waterproofing, because the drain assembly is part of the infrastructure.
If you’re planning a bigger project, how to plan a home renovation step by step has a framework for thinking about sequence across the whole house. And home renovation phases walks through the general framework that applies here too.
Phase 4: Inspections
If your local code requires rough-in inspections (and many do), the inspector comes now. Nothing proceeds until that box is checked. Call the inspector the morning after rough-in is done. Don’t assume they’ll find you.
Phase 5: Waterproofing and backer board
This is where most DIY mistakes happen. If you’re using cement board as a tile substrate in the shower, every joint and every screw head needs to be sealed with mesh tape and thinset mortar. Then the whole thing gets a waterproofing membrane.
Liquid-applied membranes work differently — you glue the board to the wall, then roll or trowel the liquid waterproofing over it. Either way, the principle is the same: the substrate may be water-resistant, but the membrane is what actually stops water from reaching the wood framing.
The shower floor needs to be sloped correctly toward the drain. This is one of those things that looks fine in theory and then gets done wrong because nobody measured the slope. A bathroom floor in front of the shower also gets waterproofed, especially in older homes.
Once the waterproofing is done (and inspected, if required), you install the backer board — the cement board that tile adhesive bonds to. This goes on walls that will get tiled. Drywall goes in the non-wet areas.
Phase 6: Tile setting
This is the longest single phase and the most visible. Floor tile, then wall tile — the sequence matters because you don’t want to tile a floor that someone’s going to walk on while installing wall tile.
Tile setting isn’t rushed. The thinset needs time to cure before you grout. Grout needs time to set. The grout needs to cure before you seal it. Each step has a waiting period baked into it.
Phase 7: Grouting, sealing, and fixture installation
Once all the tile is set and the thinset has cured, it’s grout time. Then, after the grout cures, seal it. Then clean off the haze.
Now you install what you actually touch: the vanity, the toilet, the showerhead, the faucet, the mirrors, the towel bars. The vanity plumbing needs to be connected. The toilet flange needs to be wax-ringed and bolted down. The shower valve and trim install as a pair — don’t try to use the rough-in valve for final plumbing.
This phase is where the bathroom starts looking like a bathroom again. It’s also where people realize they forgot to order the shower curtain.
Phase 8: Paint, touch-ups, and final inspection
Any painting that hasn’t been done happens now. Then a final walkthrough — a loose tile, a caulk bead that needs reworking, a paint splatter on the new faucet.
Where the timeline goes off the rails
The sequence is clean on paper. In practice, there are a few things that consistently throw off timelines:
Long-lead items. You think the vanity arrives in two weeks. It takes five. Now your installers are sitting around waiting, and nothing downstream can start. This is the single most common timeline killer, and it’s entirely preventable if you order everything at the planning stage.
Ordering fixtures before confirming dimensions. You pick a vanity online, it looks great, and then it arrives and doesn’t fit because your rough-in width isn’t exactly what you measured. Or the shower valve depth is wrong for your drywall thickness. Double-check everything.
Finding something behind the walls. You open up a wall and discover water damage, inadequate framing, or something the previous owner did that would fail inspection. This is common in older homes. Build contingency into both your budget and your timeline.
Inspections. They don’t always come when you expect them. If your timeline assumes an inspector will show up Tuesday and they show up Thursday, that’s two lost days.
A practical timeline
Here’s what a straightforward bathroom renovation looks like when everything goes smoothly:
Week one: Demolition. Open walls. Call the inspector.
Week two: Plumbing and electrical rough-in. Inspection passes. Waterproofing goes up.
Week three: Backer board. Tile. Grout. Cure time.
Week four: Vanity, toilet, fixtures. Paint. You’re done.
That’s four weeks — the best case. It assumes the tile was in stock, the vanity was on order before demolition started, the inspector came when expected, and nothing fell out of the walls.
Most projects run in the six-to-eight-week range. A spread of a few weeks either way is normal.
How to keep it all straight
The sequence isn’t complicated. What makes bathroom renovations hard is keeping track of thirty separate decisions happening in the right order, some of which need to be made four weeks before the trade actually needs them.

A simple task list organized by phase helps. You can’t order the vanity until week one. You can’t grout tile until it’s all set. You can’t install the toilet until the floor is tiled. A task list that reflects the actual sequence keeps you from booking the next phase before the last one is done.
Budget tracking helps too. You have a number in your head for the project, and somewhere along the way, you need to know: how much have we spent, how much is committed (on order but not yet installed), and how much is left? A simple budget tracker — whether it’s a spreadsheet or a purpose-built tool — lets you see whether you’re still inside your spread. How to budget a home renovation has a fuller breakdown of where money goes and how to plan it out.
Wrapping up
Floor finishes usually wait until wet work is stable — how long flooring installation takes sets expectations for drying and acclimation.
A bathroom renovation is a sequence, not a shopping list. The right order — demo, rough-ins, waterproofing, tile, fixtures — is known. The hard part is managing it: ordering long-lead items early, catching inspections in time, not rushing the cure phases, and keeping track of what’s been spent versus what’s left.
If you’re planning one, start with the sequence, not the tile. Figure out the order first, then pick the pretty things. The pretty things can wait. The order can’t.
Home Stories is free on the App Store and works fully offline on iPhone and iPad. If you’re planning a renovation and want a simple way to keep tasks, budget, and photos organized in one place, you can find it at the App Store.
Sources and further reading
The ranges and guidance above are drawn from direct project experience and from the bodies below, which publish the underlying standards, rules and market data. They are worth reading directly before you commit money.
- Building regulations approval — GOV.UK
- Renovation, Repair and Painting (RRP) rule — lead-safe work — US Environmental Protection Agency
- How To Avoid a Home Improvement Scam — US Federal Trade Commission
Frequently asked questions
Can I renovate my bathroom in phases?
You can, but it's expensive. Most people budget for a full tear-out, and partial work in a living bathroom creates dust, noise, and access issues that slow everything down. If you have only one bathroom, most people plan for the disruption to be short and intense rather than long and drawn out.
Should I hire a general contractor or manage trades myself?
It depends on your confidence level and how much time you have. A general contractor coordinates all the trades and absorbs the scheduling risk, which can save you weeks. Managing trades yourself requires knowing the correct sequence and being available to coordinate arrivals. Neither approach is wrong; it depends on your situation.
How long does a bathroom renovation take?
Most straightforward bathroom refits run somewhere in the region of four to eight weeks on site. The spread is mostly about whether anything moves — plumbing reroutes, unexpected structural issues, or long lead times on your chosen fixtures.
What should I waterproof in my bathroom?
The wet areas — the shower floor, shower walls, and the tub surround — plus the bathroom floor in front of the shower. In most places, building codes require a continuous waterproof membrane in wet areas. The specific material varies by product, but the principle is the same: water must not reach the wood framing.
What are the most common bathroom renovation mistakes?
The most common ones all relate to sequence: installing tile before the waterproofing is done, ordering fixtures too late so the timeline stalls, or starting demolition without confirming that all long-lead items have been ordered.
Do I need permits for a bathroom renovation?
If you're moving plumbing, electrical, or structural elements, most local building codes require permits. Simple cosmetic updates usually don't. Check with your local authority. Skipping a required permit costs more in remediation than doing it right the first time.
Keep reading
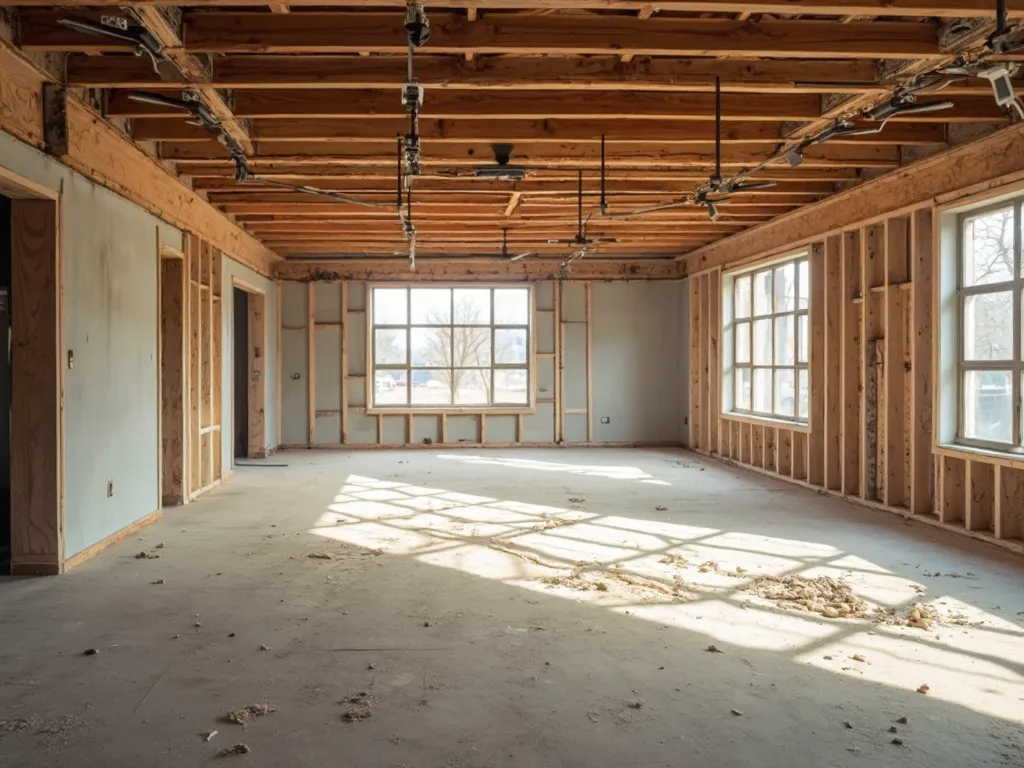
Home Renovation Phases: The 6 Stages You Can't Skip
The 6 home renovation phases you can't skip, from planning to snag-free handover, with what actually matters to track at each stage.
How Long Does a Bathroom Renovation Take? Realistic Ranges by Scope
How long does a bathroom renovation take? Realistic time ranges for a refresh through a full gut, plus the delays that always creep in.

How to Budget a Home Renovation: 7 Steps to an Honest Budget
How to budget a home renovation — 7 steps to build an honest budget that covers scope, contingency, and every hidden cost.