Where to Start When Renovating a House You Just Bought
You bought the house. The keys are in your pocket. The contractor you're going to hire doesn't exist yet, the budget is a guess, and every room looks like it needs something different. Before you pick up a paint roller, here's the order that keeps the first ninety days from becoming the most expensive part of the project.
You bought the house. The rooms are empty, every corner looks like it needs something different, and the kitchen is at the top of everyone’s list. The temptation is to start there — excitement is real. But excitement and triage are not the same thing.
Here’s the order that keeps the first ninety days from becoming a month of small projects that add up to nothing finished.
Step one: walk every room with a notebook
Not a Pinterest board. Not a list of paint colors. A notebook, pen, and the patience to go room by room.
Write down three things for each room:
- What is broken — leaks, cracks, things that are actively failing or unsafe
- What is outdated but functional — old but still doing its job (a kitchen that works but hasn’t been updated in twenty years)
- What is fine — things you can live with as-is because they’re already good enough
This sounds like the least exciting part of renovation. It is, in fact, the most important. Every budget blown and every timeline extended traces back to a mismatch between what the renovator thought the project was and what it actually was.
Step two: separate “essential” from “desirable”
Take the notebook and sort everything into two buckets.
Bucket A — Essential (do first): Things that, if you left them alone, would cause damage, cost, or danger. Examples: a roof that leaks every spring, a water heater that’s fifteen years old and making gurgling noises, electrical outlets that spark, mold in the basement, a driveway that slopes toward the foundation. These are not aesthetic choices. These are decisions that get more expensive the longer you wait.
Bucket A items are also the ones worth checking the clock on before you commit, because they tend to displace everything else while they run: rewiring a house, replacing windows and replacing a roof all sound like short jobs and all sit on the critical path for the cosmetic work you actually want to do.
Bucket B — Desirable (do when you can afford it): Things that would make your life better but won’t actively hurt anything if you wait. Examples: a kitchen backsplash, a painted front door, new light fixtures, a nicer bathroom vanity, adding shelving instead of a full kitchen remodel. These are legitimate improvements. They’re just not urgent.
The reason this distinction matters is simple: renovation energy is finite. If you spend your enthusiasm, your weekends, and your money on Bucket B while Bucket A is still sitting there, you end up with a pretty room in a house that still has problems. And those problems will eventually come knocking.
Step three: inspect before you interrupt
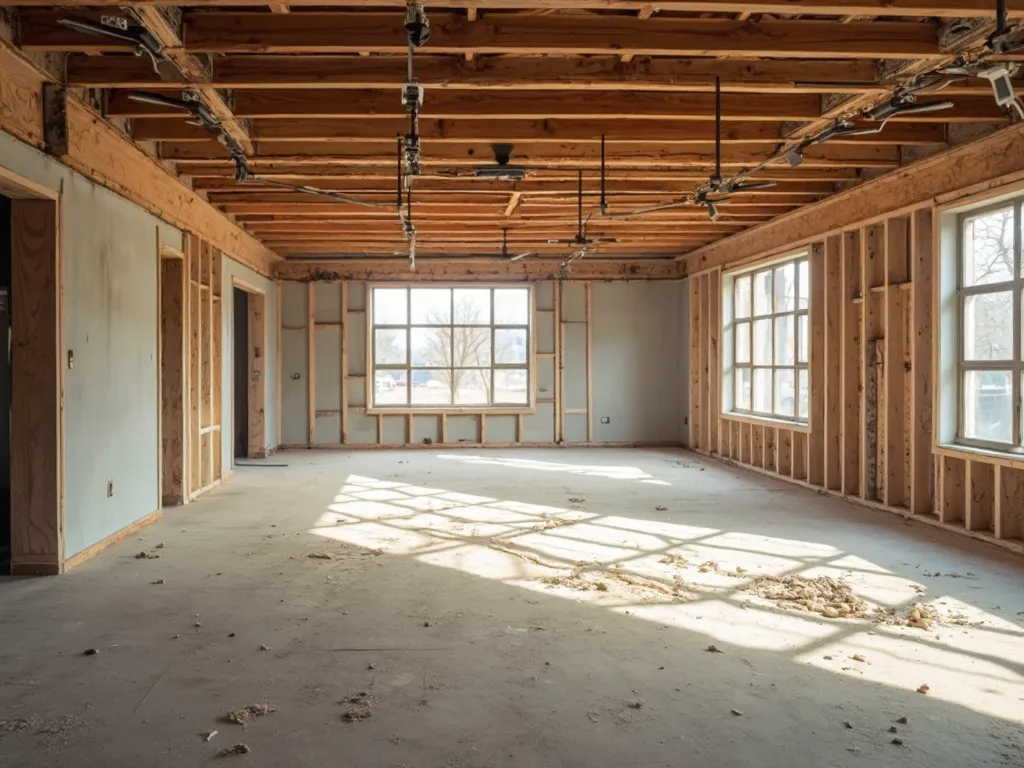
Before you tear into any wall or pull any floor, spend a day looking at what the house is hiding. Check the utility panel, the water heater, the attic, the basement for moisture or structural notes. Walk through the inspector’s report with them — ask them to show you the worst thing they found. The people who are least stressed by opening a wall are the ones who went in looking for what’s there.
Step four: plan the envelope before the interior
The “envelope” is everything between the outside world and your living space — roof, windows, walls, foundation, gutters, drainage. Get it right first. You probably spent months thinking about what you wanted inside the house. That’s normal. But the envelope dictates the timeline, and a beautiful interior in a house with envelope problems is just a beautiful way to dry out. A dry, stable shell is the single biggest advantage a renovation can have.
Step five: pick one room and finish it
Not three rooms. Not the kitchen and the bathroom. One room. And finish it — really finish it, not just “got the paint up and the cabinet installed.”
A finished room — flooring, paint, fixtures, trim, lighting, the small stuff nobody sees but everyone notices — is a win. It’s proof that you can see something through, that the sequence works, that you can budget and time a project without it collapsing. That first win matters more than the room itself. It changes the psychology of the whole project from “I guess I’ll keep chipping away” to “I can do this.”
Pick a room that’s in Bucket B — something that would make you happy every day but won’t sink the project if it takes longer than expected. A guest bedroom. A home office. The kitchen if it’s small and the scope is manageable. The key is finishing it, not making it perfect.
Step six: write down everything you decide
You pick a paint color. You order a faucet. You tell the plumber you want the shower on the left wall. Three months later, when the drywall is up and you need to know what paint code you used, you will not remember.
Write it down. One place. With dates. Paint codes, fixture model numbers, tile specs, the reason you chose the gas range over induction, the trade you talked to but didn’t hire. These seem trivial until you need them — and they come up more than you expect. Consistency matters more than the tool: notebook, spreadsheet, or app. If you want everything in your pocket, a purpose-built app keeps all of it attached to one project.
Step seven: set up a budget that you’ll actually look at
Not a dream budget. An honest one. List every Bucket A and B item with a number — your best guess, even if it’s rough — and add a contingency line. The contingency isn’t “in case things go wrong.” It’s “because things will go wrong.”
Track what you’ve committed (signed a quote, placed an order) separately from what you’ve actually spent. That gap is where most first-time renovators get surprised. A budget template or simple spreadsheet works. Check it weekly. The act of looking at it is what prevents small purchases from becoming a silent drain.
Step eight: live in the house for a while
The house is a data source. Live in it for two or three weeks — do laundry in the basement, notice which bathroom you actually use, feel which rooms get cold, watch where water pools after rain. You renovate better when you know how you actually use the space, not how you imagine you will.
The thing nobody tells you about starting
There’s a moment in every renovation when the excitement fades and what’s left is the work. This is normal. Every renovation passes through it. The people who finish are the ones who planned the sequence, kept a record, and accepted that unfinished is better than perfect.
Walk the rooms. Separate essential from desirable. Fix what’s broken before making things pretty. Write everything down. Check your budget weekly. Live in the house for a bit. Then pick one room and finish it. The rest follows.
Where should you start renovating a new house first?
If the search query is literally “where to start renovating a new house”, the honest answer is usually: live in it briefly, fix safety and weatherproofing, then sequence wet rooms and kitchens before cosmetic rooms. Cosmetic first feels good and often creates rework when plumbing or electrics move later.
A practical first-month order for many households:
- Safety and weathertightness (locks, smoke/CO alarms, roof leaks, trips).
- Services you cannot live without (heating, hot water, a working bathroom).
- One “clean base” room so the household has a place to retreat.
- Then structural or layout decisions that affect many rooms — before buying finishes for those rooms.
Write that order down. The printable renovation checklist is useful as a fridge list; the fixer-upper first month guide is the deeper version once keys are in hand.
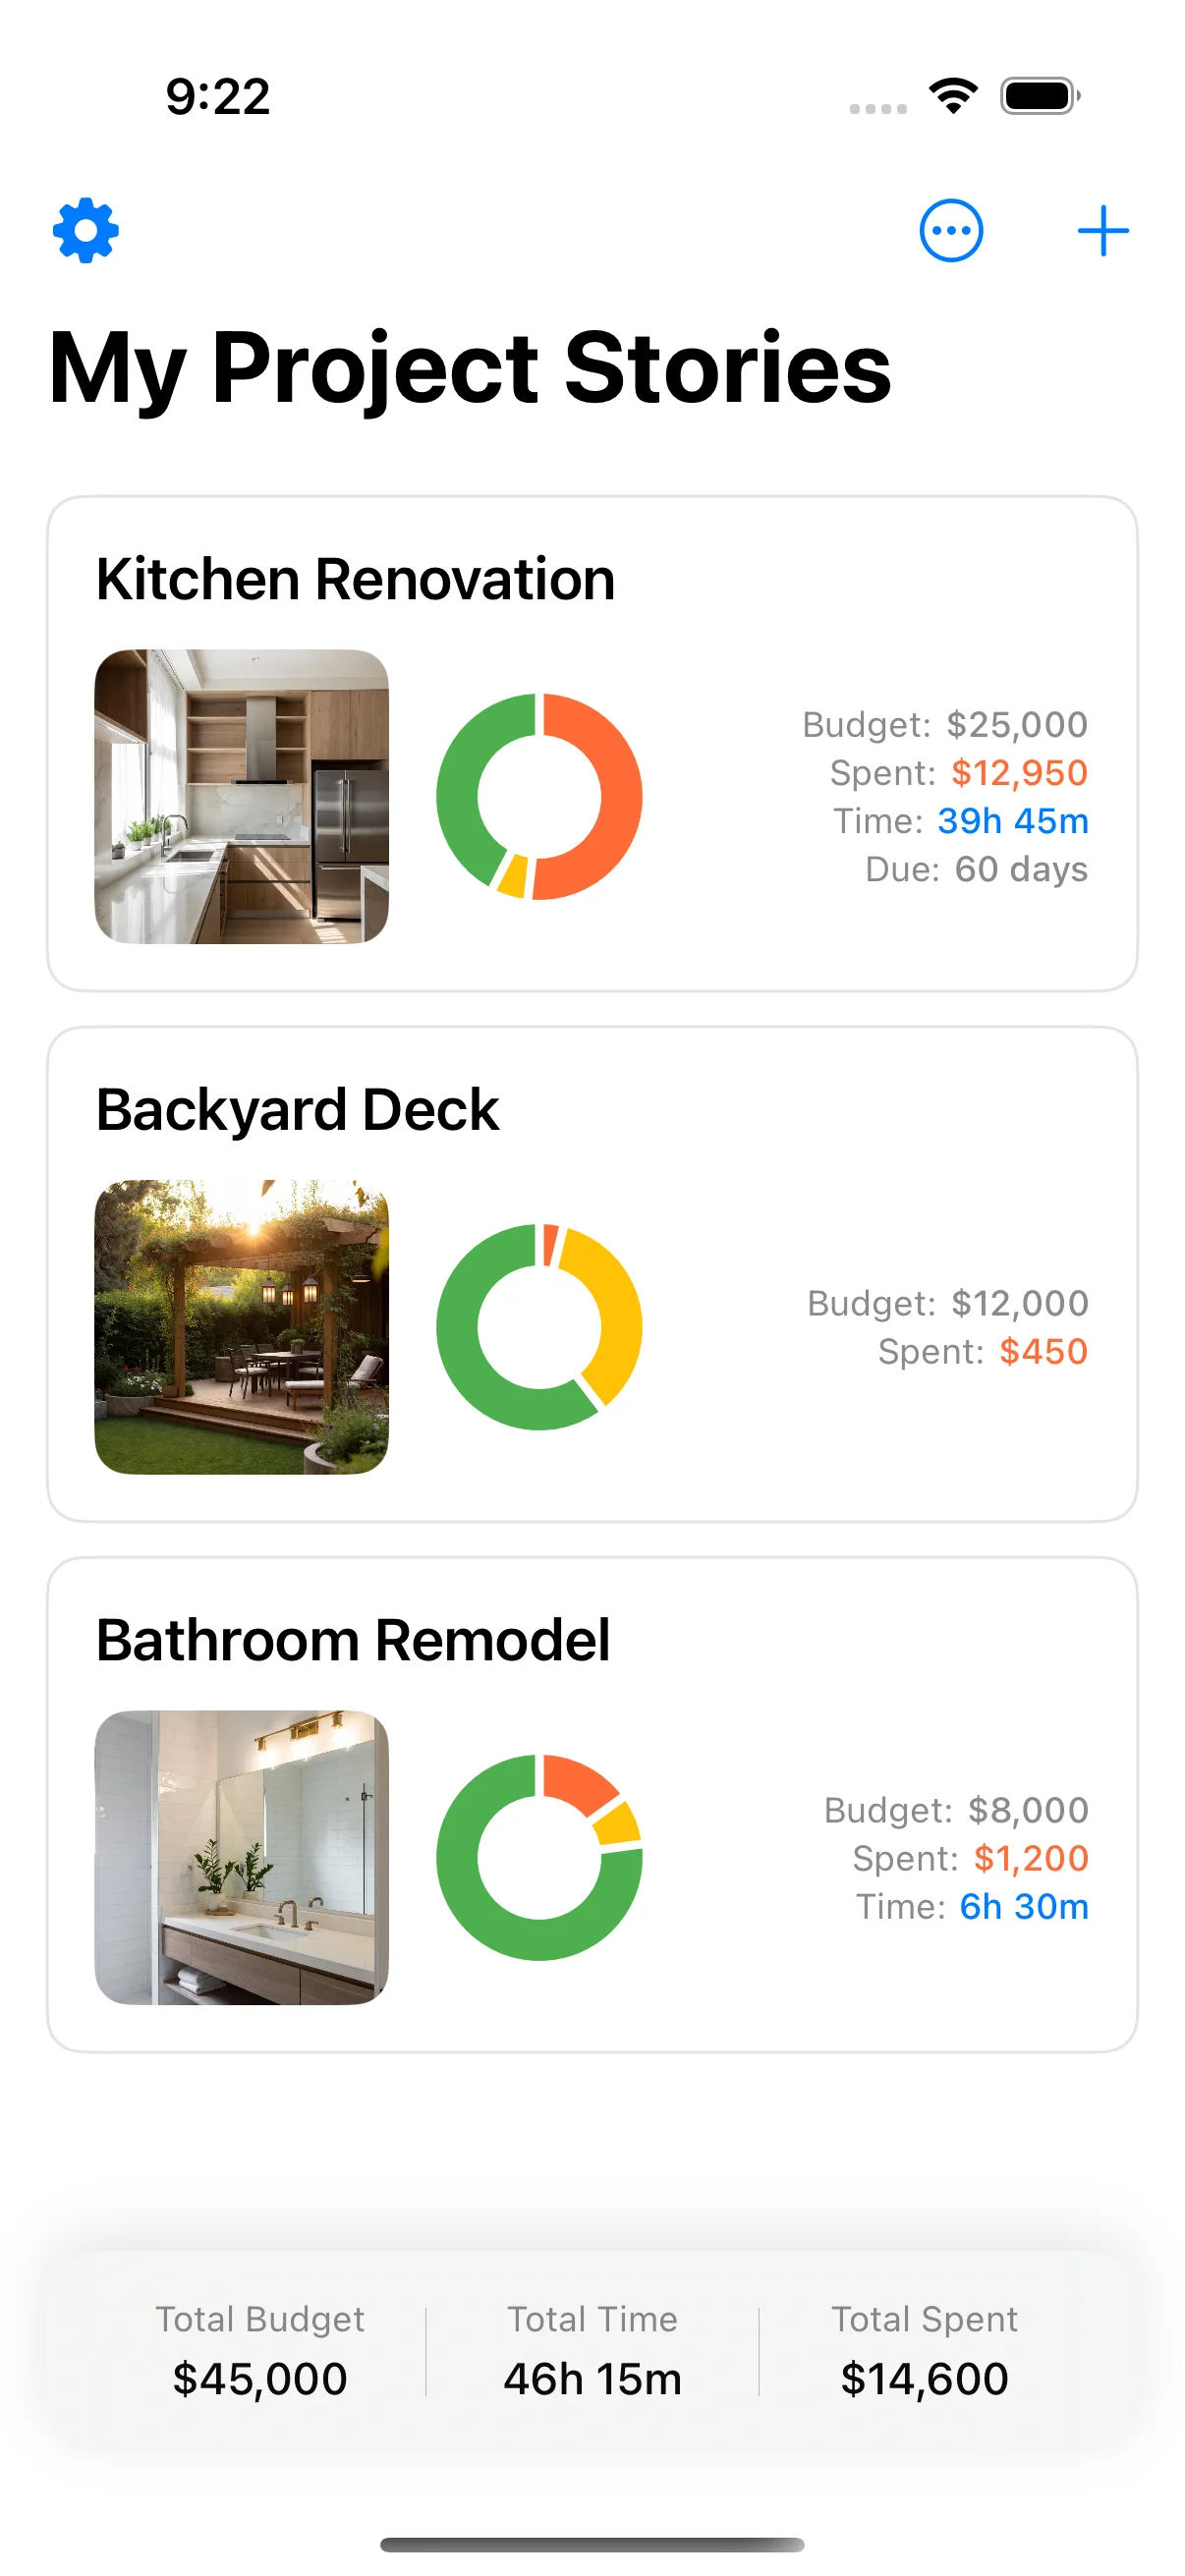
If this was useful, the best next step is the renovation checklist — a printable one-page summary you can tape to the fridge and update as you go. And once you have the keys and the house is actually yours, the first-month order for a fixer-upper is where that list becomes a plan you can live in. And if you want to track your budget and every decision in one place, Home Stories is free on the App Store and works fully offline. No account needed.
Sources and further reading
The ranges and guidance above are drawn from direct project experience and from the bodies below, which publish the underlying standards, rules and market data. They are worth reading directly before you commit money.
- Renovation, Repair and Painting (RRP) rule — lead-safe work — US Environmental Protection Agency
- Home improvements and repairs — US Dept. of Housing and Urban Development
- How To Avoid a Home Improvement Scam — US Federal Trade Commission
Frequently asked questions
What should I do first when renovating a newly bought house?
Start by walking through every room with a notebook and writing down everything that needs fixing versus everything that just needs updating. Then tackle safety and structural problems before anything cosmetic. A new kitchen is exciting, but a failing roof or a cracked foundation beam is what actually dictates your timeline.
Should I renovate the whole house at once or room by room?
It depends on how much you're doing and whether you're living in the house. Most people renovate one or two rooms at a time because dust, noise, and living around construction are harder than they look. If the house has major safety or envelope issues (roof, plumbing, electrical), those should be dealt with before any room gets finished. Use a [renovation checklist](/blog/renovation-checklist-printable/) to keep track of what's planned and what's actually happening.
How much should I budget for unexpected problems in an older house?
Open up a wall or two before you quote, and you'll almost certainly find something that the inspection missed. A common rule of thumb is to set aside a contingency fund — money you don't touch unless something shows up behind the drywall. If you're not sure what to set aside, the safest approach is to budget for the worst case you can imagine, then see how much less you actually need once you've opened a few walls.
Is it worth renovating a new house before moving in?
That depends on what you're doing. If it's a full gut renovation, living on site becomes very difficult very quickly. If it's a few cosmetic updates and one or two rooms, moving in first and renovating after you've settled can actually help — you'll know what you truly need versus what you thought you'd want. Either way, a [step-by-step renovation plan](/blog/how-to-plan-a-home-renovation-step-by-step/) keeps the project from becoming a never-ending list of small projects that never finish.
How do I keep track of everything when I'm just starting out?
One notebook, one spreadsheet, or one app — pick the system you'll actually use for ninety days straight, not the one you think is the most impressive. The goal isn't to start perfectly; it's to start honestly and keep a record of what you planned, what you spent, and what changed. A [renovation budget](/blog/how-to-budget-a-home-renovation/) you check weekly beats a beautiful plan you never look at again.
What are the most common mistakes first-time renovators make?
Starting with the pretty stuff instead of the essential stuff, not opening walls before committing to a plan, and trying to do too many rooms at once. The other big one is not documenting what's behind the walls before they close — pipes, cables, framing — because once it's covered, you're guessing next time you need to drill. Taking photos and writing notes now saves money later.
Keep reading

How to Budget a Home Renovation: 7 Steps to an Honest Budget
How to budget a home renovation — 7 steps to build an honest budget that covers scope, contingency, and every hidden cost.
How to Plan a Home Renovation: 6 Phases from Idea to Handover
How to plan a home renovation — 6 phases from inspiration to handover, with what to track and watch for at each stage.
Renovation Checklist Printable: Your Complete Step-by-Step Guide
Renovation checklist printable — a complete step-by-step renovation checklist you can use to plan and track every phase.